Feeling overwhelmed about how to start laser cutting? Here’s some advice that’ll make you look like a pro.
By Dia Brown
If you’ve seen our lab—you’ve likely seen our laser cutter. It’s huge! It’s the largest machine we have, and it can be a bit intimidating to use. As a Fabber since the installation of this laser cutter, I can tell you once I got the hang of it, it became my favorite machine in the lab (no offense to the other ones, of course).
I think the hardest part is just knowing how to get started, so here are 10 tips to get you comfortable with the laser cutter. And hopefully by the end, you love it just as much as I do!
- Pick a software and stick to it
Are you a pro at CorelDraw? Love to use AutoCAD? Big fan of Adobe Illustrator? There is no one software that’s “the best,” so if you like one—just stick to it!
If you feel rusty or uncomfortable using any of the drawing programs- no worries! There are communities for each of these. My recommendation would be to make yourself a nice snack or meal, sit down, and enjoy some tutorials!
Here are a few:
- Designing laser cuts in CorelDraw with Troy the Maker – He is one of my favorite laser cutting youtubers, he has such a fun personality and also is pretty responsive if you have a question. He goes into some good advice for practical applications of Corel as you trial and error through laser cuts.
- How to get started with CorelDraw for Laser and Vinyl Cutting by Steve Morris – He has a few tutorials, with this one being one of the most popular. I have seen it before in my early days of trying to figure out CorelDraw. He really goes through each tool and how to use it. Great way to get started!
- Architectural Model Making – Laser Cutting Tutorial from Surviving Architecture – You can see I am a bit biased. As a civil engineering student, I love channels like this one. I also like seeing practical applications in my field for how to do things. This tutorial uses AutoCAD and has some cool tips and tricks throughout. There’s also a lot of other great advice on this channel.
- AutoCAD Laser Cut Animal with CAD FILES – Simple fun guide to make a 3D animal! This seems like a relatively simple way to just start a first project if you have never laser cut something at the lab! (I also mostly have architecture videos for AutoCAD- SORRY! What can I say, I like buildings).
- Adobe Illustrator for Laser Cutting 101! (& Easy DIY Ornaments) from Beauty and the Bolt – For the electrical engineers out there (or if you just like circuits, sensor, and that stuff), this one is for you! This tutorial is a fun simple ornament one. The channel has a lot of stuff on fundamentals for electrical concepts as well! Beauty and the Bolt is also a great Non-Profit!
If you are someone who likes to read “how-tos”- here are some for CorelDraw, AutoCAD, and Adobe Illustrator to get you started!
Of course, this is not an exhaustive list of videos and readings, so have fun exploring! But don’t forget to experiment too! It’s okay if your part comes out not as you expected. I have many trial prints from when I was teaching myself to raster photos in CorelDraw. As you experiment, you’ll start picking up your own methods and styles. The main thing is getting comfortable with how one software works.
- Know your material
As you’re designing your laser cut, you should start thinking about what material you will work in. Is it a prototype? Maybe consider an easily recyclable and cheap material like cardboard. There are many types of cardboard, which can be looked at here.
Each laser cutter can cut certain materials depending on the type. Our laser is a dual CO2 and fiber laser. This gives a range of cutting and engraving options to you! For a list of materials our laser cuts, go to the laser cutting and engraving tab on our website.
When talking about wood, type matters! Wood is classified as either soft or hard. It also varies in density. Balsa wood, one of the most common wood types used in our lab, is very light. A harder, denser wood will produce a darker appearance than a softwood.
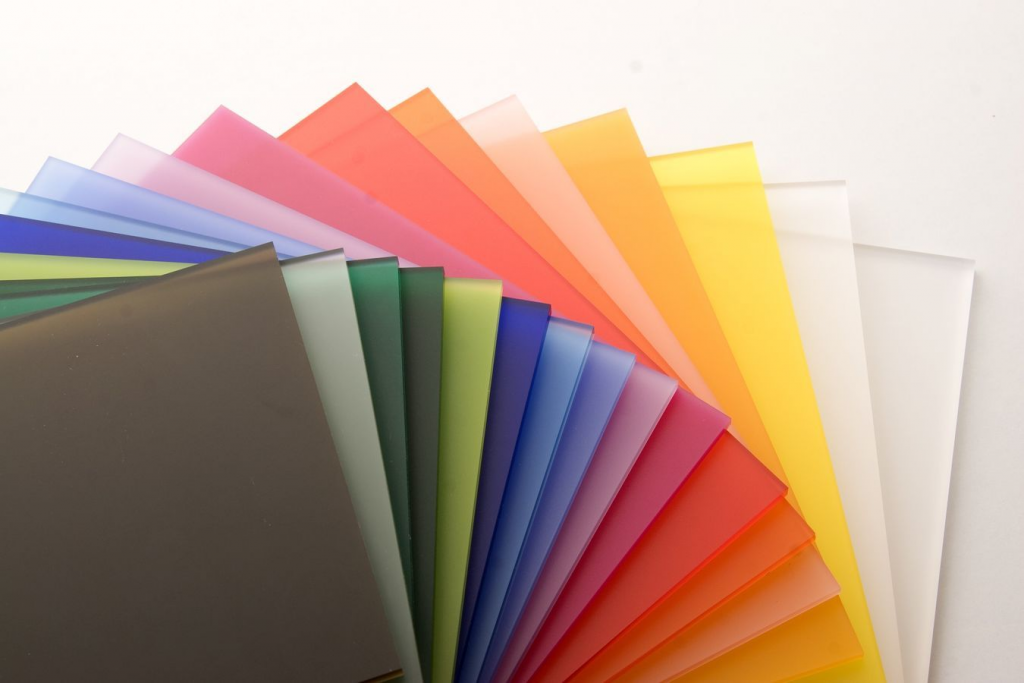
Another common material used in our laser cutter is acrylic. It is more brittle than wood- so really be mindful of the minimum spacing between lines (paths). A good rule of thumb for acrylic, and really any other material, is that your minimum path is greater than or equal to the thickness of your material. To keep your acrylic looking nice and clean, keeping or putting on protective tape (usually will come on new acrylic) is your best bet!
- Learn Slicer for 360 Fusion
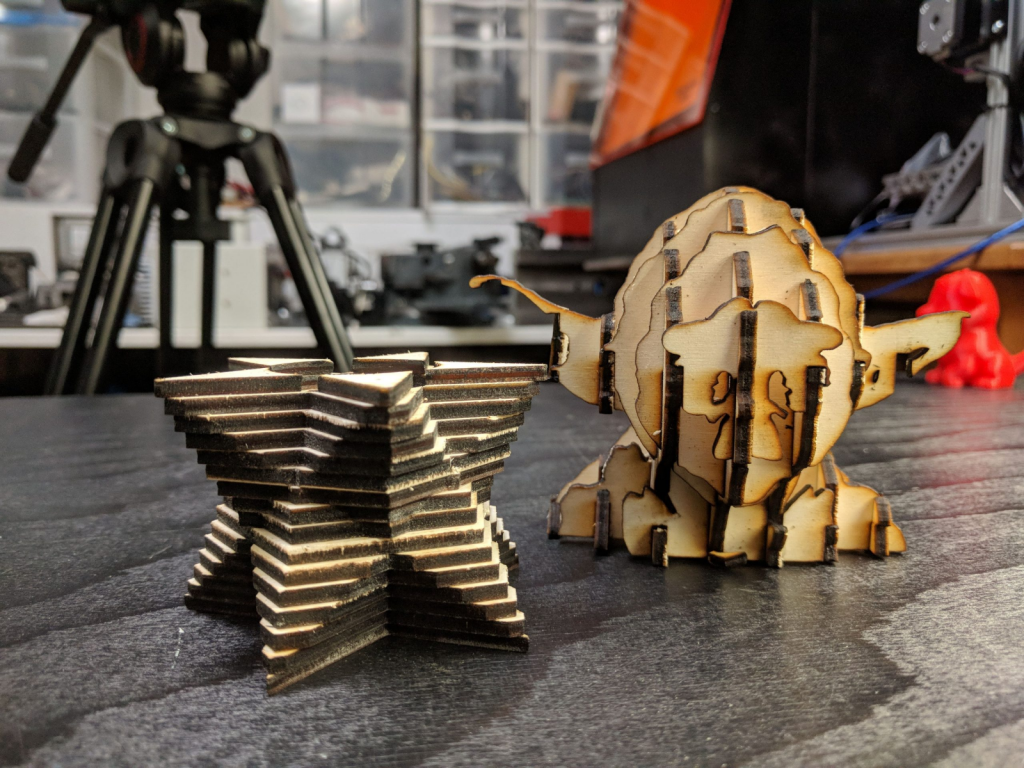
This one might sound specific, but trust me—it’s worthwhile to take the time to explore this software! If you have stopped by the lab and seen amazing glue-less 3D laser cuts, it’s thanks to Slicer for Fusion 360. It helps you create the right nodes for fitting in the pieces. There are many tutorials such as this one to get you started.
Of course, this is not the only software though. Others such as SketchUp also help with creating your interlocking pieces and has some step-by-step-tutorials.
For those of you who want to do it from scratch you can also create the interlocking pieces yourself!
- Get familiar with the settings on the laser
Though the fabbers apply the settings, I think it is good for you all to know what we see on our end when we put pieces on the laser cutter!

This is the screen we see for print options on the laser. The higher the power, the stronger the laser is. You need the power up a bit in order to vector all the way through. It is important to note that a higher power will also producer darker lines. You may want to change your settings, particularly for raster depending on how light or dark you want the lines on your image.
Speed is how fast your laser is going. If it is too fast, it may not cut all the way, but a low speed can lead to melting or burning. A tip if you are concerned about the piece burning is to run the vector cuts multiple times at a medium speed so that it eventually goes through. Most of the time you can stick with a moderate speed and be fine.
Frequency only matters for cutting. The higher the frequency, the cleaner the cut. It’s okay to have a lower frequency though, this prevents flammable materials from catching fire!
- Make sure your lines don’t overlap
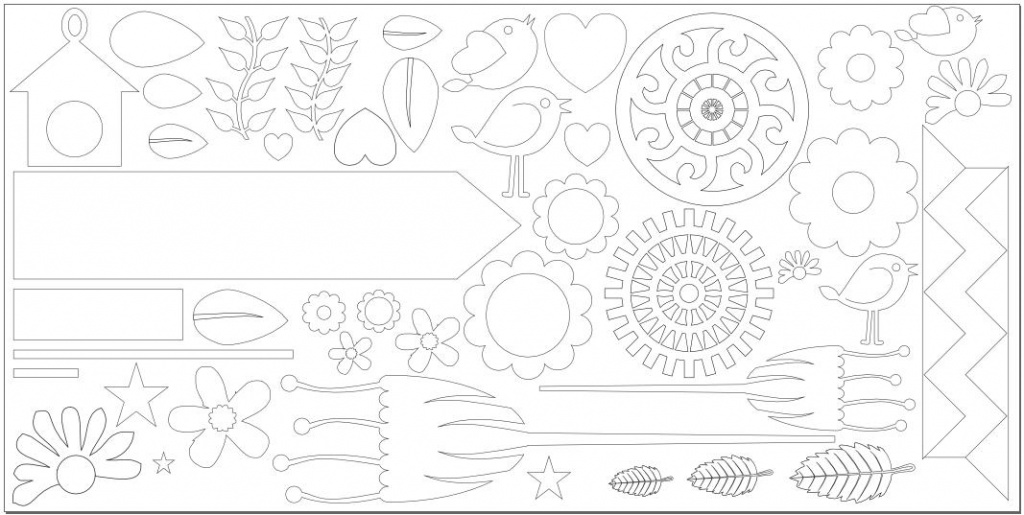
If you want to save materials, making parts touch is not a bad idea, but you don’t want them to overlap. An example is if you have a bunch of triangles. Instead of each having 3 sides, where they touch remove one of the lines. This makes it so the laser only goes over the area once and you’ll have cleaner parts and a quicker print time!

- Play with the image dithering and engrave direction
I love image dithering! It is so fun!!! This Wikipedia article goes over a few of them, but when I am rastering photographs, I like changing the dithering a bit to impact the clarity of the image. This is especially helpful when you have a picture that is not the highest quality. It is always best to have a high-quality image, but changing the dither can enhance both high- and low-quality images.
Engrave direction is also a little touched feature. When engraving on wood, you want the laser to go perpendicular to the grain of the wood to get the clearest cut. So, depending on how the wood is going into the bed, changing this direction can make the piece come out clearer.

- Use vector cutting to your advantage
Now that we have established what some of the settings do to impact the vector and raster lines- we can use these to our advantage. If you want something like a letter more pronounced, add vector lines to it and keep the frequency low and make the speed a bit faster, that way it doesn’t go all the way through, but still gets that nice solid line.

- Be mindful of your raster and vector lines
When drawing your design, keep in mind whether you want the line to be vector or raster. Also find your technique that you like for telling the laser to do a vector or raster. I personally prefer setting to hairline in CorelDraw. This indicates to the machine that this is vector cut, and all other lines will be rastered.
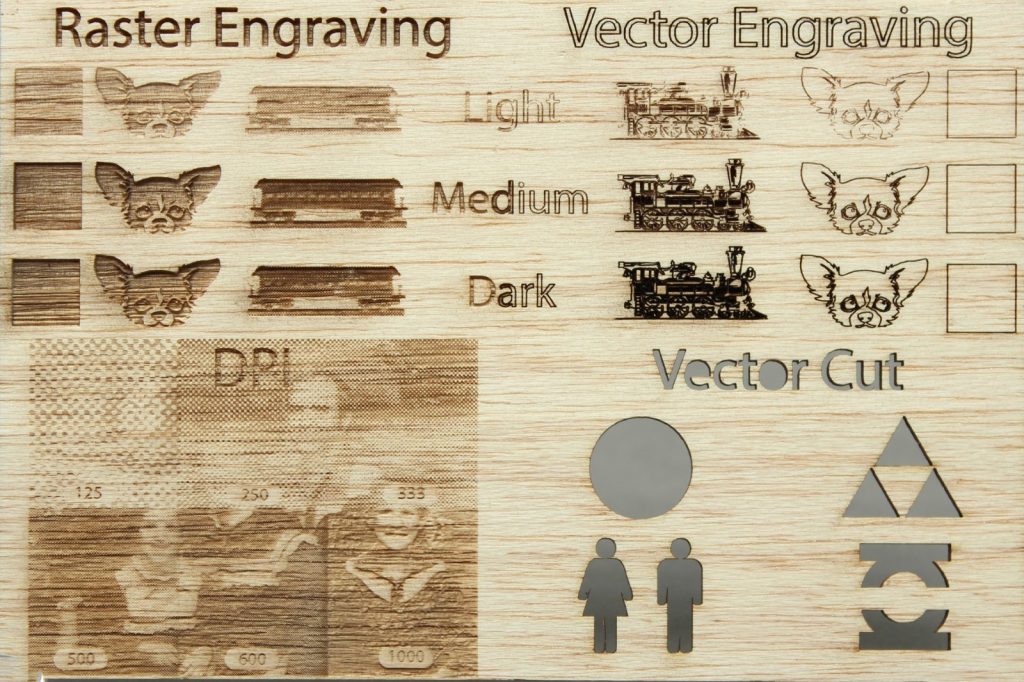
You also don’t always need both on. Please let us know if you just want raster or vector lines! If you want just one or the other. Changing the laser setting to do just one prevents any accidental errors of unwanted vectors or rasters.
- Don’t be afraid to use the fiber laser
I will admit it- the fiber laser has scared me in the past! What material is safe to use? What settings should I use? What shape should it be? Moving beyond the CO2 laser can be really stressful, but it doesn’t have to be!
The main thing is making sure the material you are using comes from a reliable source (you can order through the lab or buy from a reliable supplier and show us the receipt so we can confirm that the material is correct and safe). You can always look up reviews or product info if you are unsure.
The next thing is getting settings right. Just like the CO2 laser, the fiber laser has its own settings. Both can be found in the appendix of the Epilog laser manual.

The manual is a general guideline for prints though, I would recommend having an extra piece of your material in order to practice a bit and get the settings to how you want them. An important thing to note with the fiber laser is that it only can engrave! So if you really want something vector cut, you need to reconsider the material to something that can be cut with the CO2 laser.
- Talk to the Fabbers
As someone who constantly overthinks and is afraid to ask questions- ASK QUESTIONS! We are here to help. It is likely that us folx in the UVM FabLab have had the same questions at some point. If we don’t know the answer, we can also help you find it! Remember that we are all here to learn. Feel free to consult us in person during open lab hours or during our remote office hours.
You can also come in to talk over a part you are having cut and adjust settings along with us to get just the print you want.
Final thoughts
Now that you have these 10 tips and tricks- you are now ready to take on laser cutting! Anything is possible- and don’t lose hope if your first few projects don’t turn out how you wanted them too. It’s part of the engineering design process! It’s iterative, and each failed part gets you closer to your FABulous finished product.
